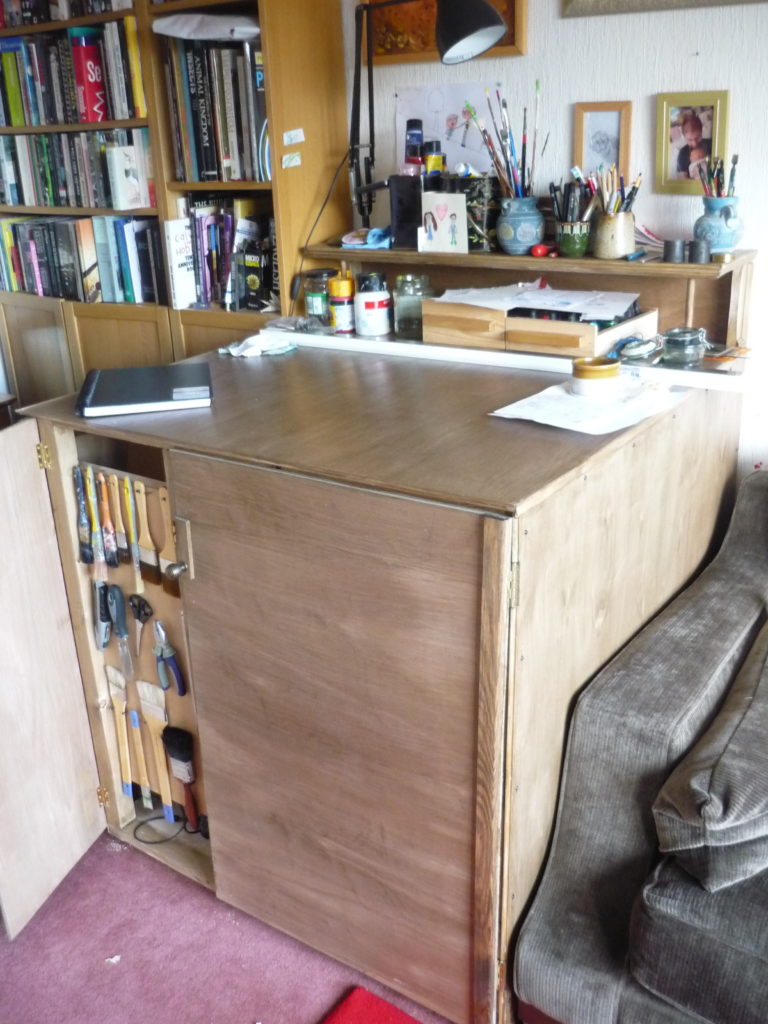
So I work from home, and one of the big problems there is that I have to keep my work from just spreading all over the house like a terrifying art-based lifeform, so like an idiot I decided to make a custom unit where I can stash all my paper and ink and paint and rollers and lino and brushes and cutters and scalpels and tape and card blanks and string and wrapping material and blank canvasses and shut the door on it all.
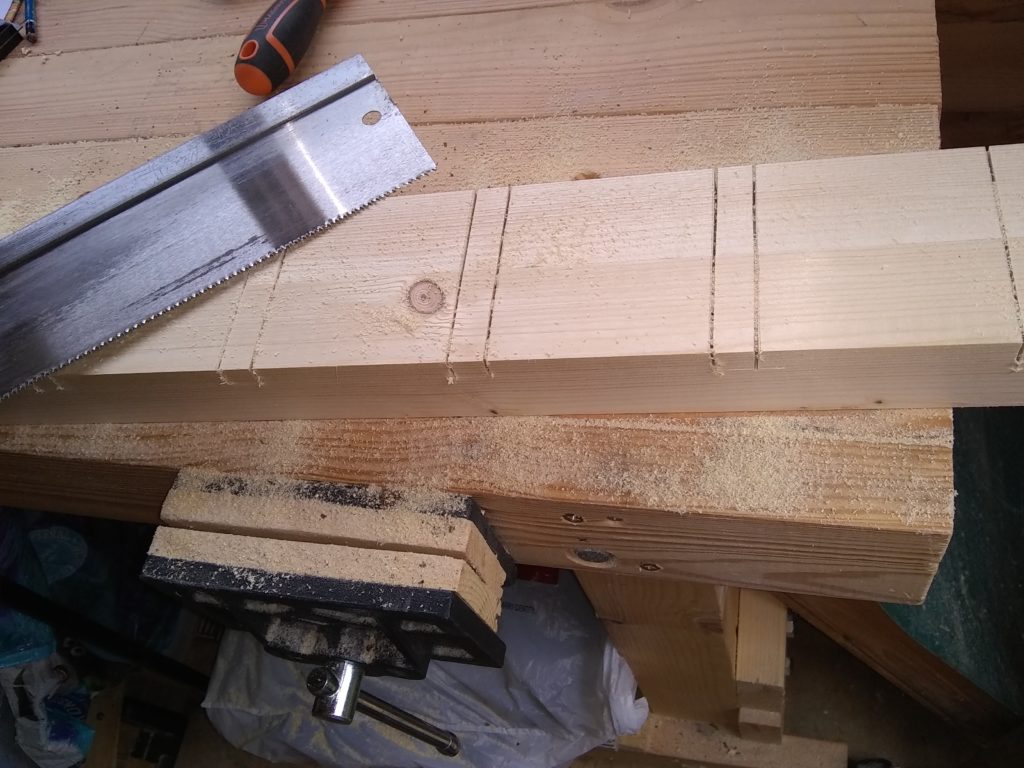
I had the wood roughly cut to size (see my last post) and the next step was to get the main parts of the frame cut, jointed and glued together:
There’s two sets of drawers, one at the top front-right and one at the left, with paper underneath and canvasses at the back. This is the left-side frame:
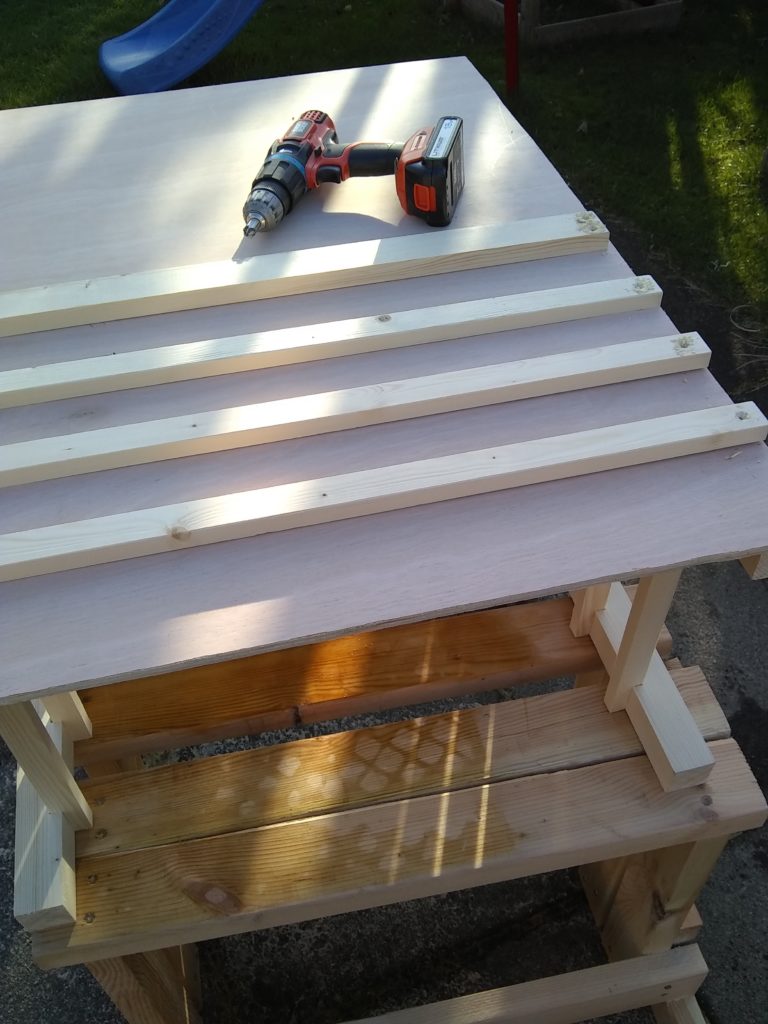
and this here is the back frame, with the top shelf. The unit is wider than the door on all edges, so I had to make separates out in the shed and assemble it all inside.
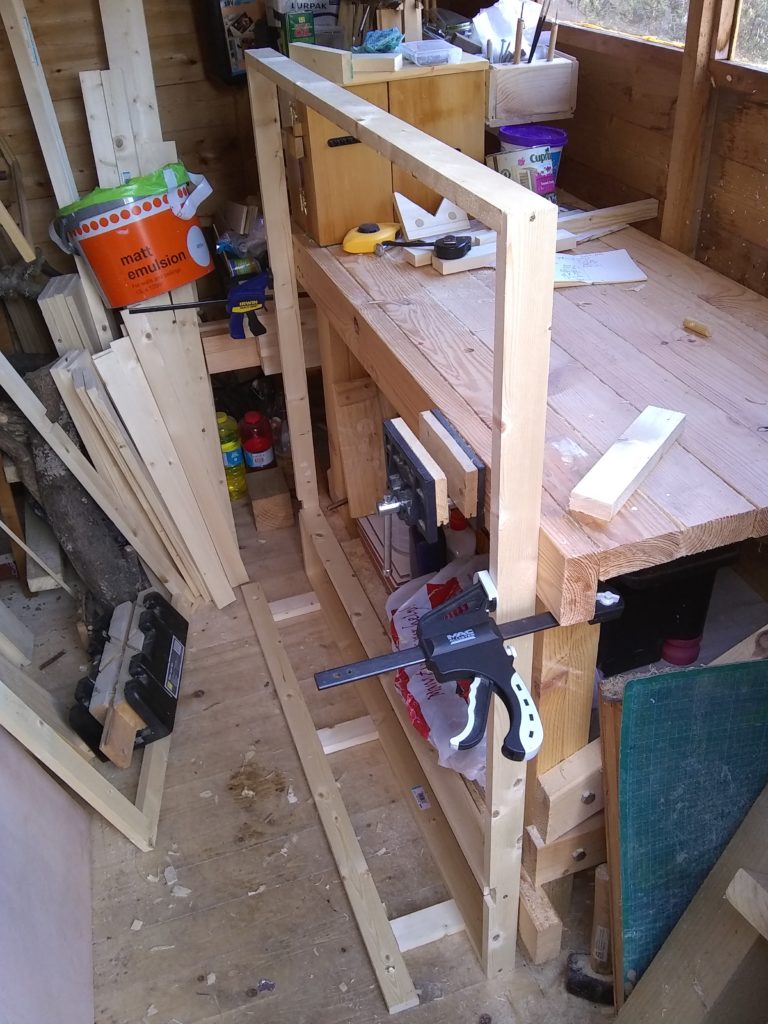
Next step was putting it all together, starting with the base and long sides.
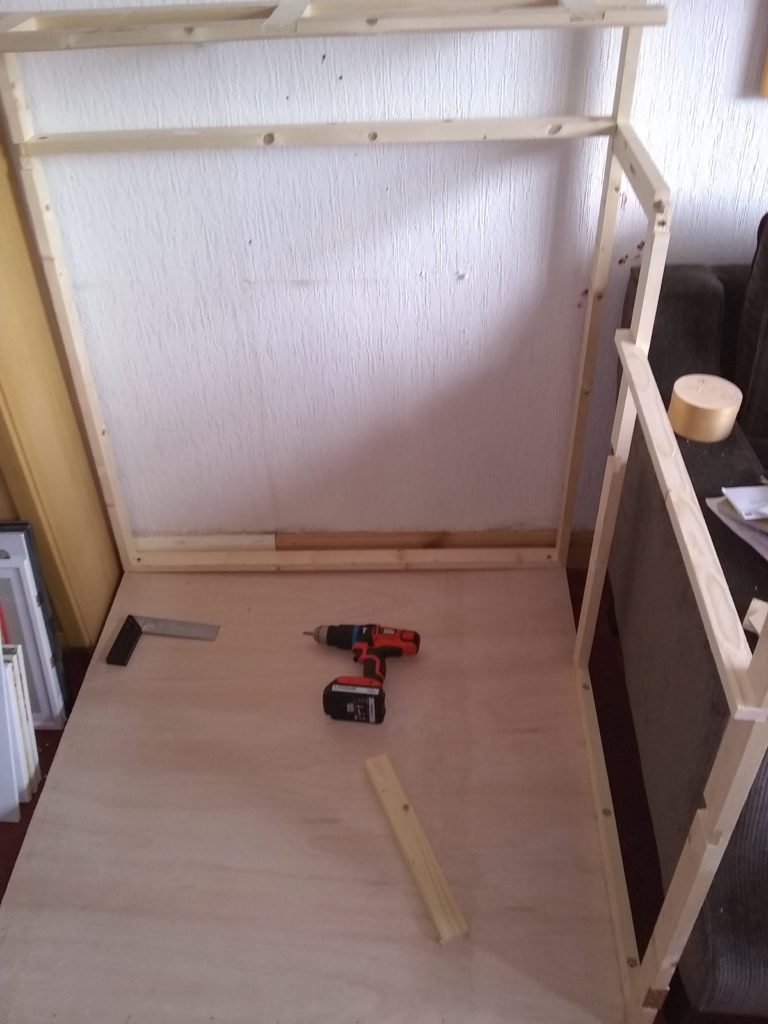
Then was the left side shelves, and then the front drawer frame

And the plywood goes on, after about two days cutting it to size. Did I mention my only power tool is a drill?
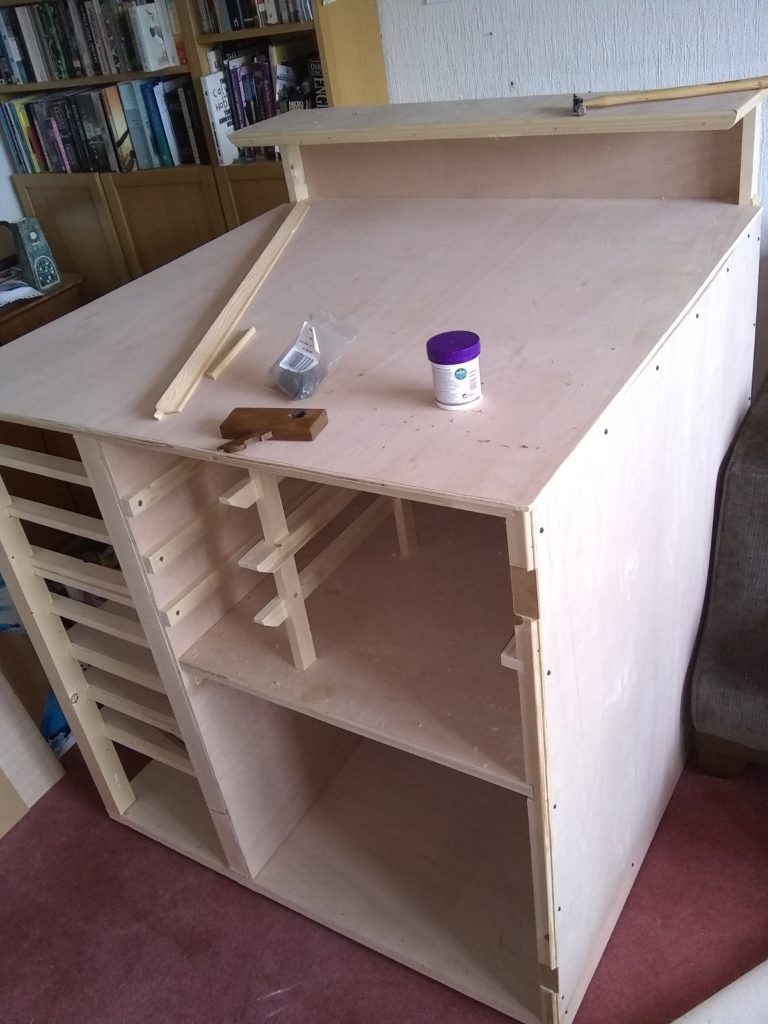
And a stained varnish to finish after the doors went on, with trim so the screws would fit – I realised the gap on the left could hold a pegboard-style setup for my larger brushes and tools (the pliers are for changing scalpel blades and opening the more reluctant paint tubes). The big door is shut because things aren’t 100% finished till after christmas while I finish up my current commissions, and those drawers on top are rescued from a quick knocked-together standing unit I made in the summer that just wasn’t big enough.